

One of the hallmarks of a truly mesmerizing visual production is the power to seamlessly modify and enhance elements within a scene. A common example of this is sky replacement. Whether you’re trying to change a gloomy sky into a vibrant sunset or adding an otherworldly aura, Adobe After Effects provides the tools you need to create realistic (or surreal) sky replacements.
For those just starting, do not worry! This guide will walk you through the process step by step. So, let’s dive in.
Importing and Organizing Your Footage
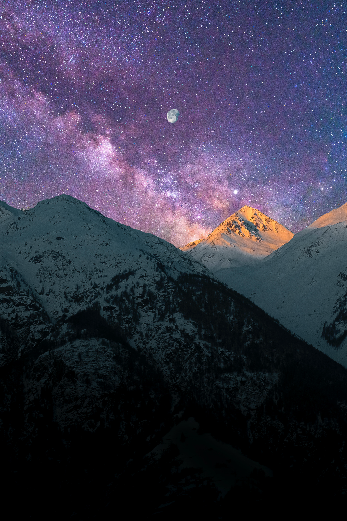
First things first, start by importing both the footage you want to alter and the sky image or video you’d like to replace it with.
- Open After Effects and create a New Project.
- Navigate to File > Import > File… and select the footage and sky assets.
Quick tip! Double clicking in the “Project” window also allows you to import your assets. - Drag your footage into the timeline to create a new composition.
Roto Brush vs. Color Keying
There are multiple ways to separate the sky from the rest of your scene. Two common methods are the Roto Brush and Color Keying.
Roto Brush: Ideal for scenes where the sky’s color is similar to foreground objects. This tool allows you to paint over the area you wish to separate.
Color Keying: Perfect when there’s a clear distinction between the sky’s color and other scene elements. This technique removes a specific color range from your footage.
For this guide, we’ll focus on the Color Keying method.
Keying Out the Sky
- Select your footage layer.
- Navigate to Effects & Presets panel and search for “Keylight (1.2)“.

- Drag and drop the Keylight effect onto your footage layer.
- Use the Screen Colour eyedropper
 tool to pick the average color of the sky you want to replace.
 - Adjust the Screen Gain and Screen Balance until the original sky is completely removed and the edges of foreground elements are clean.
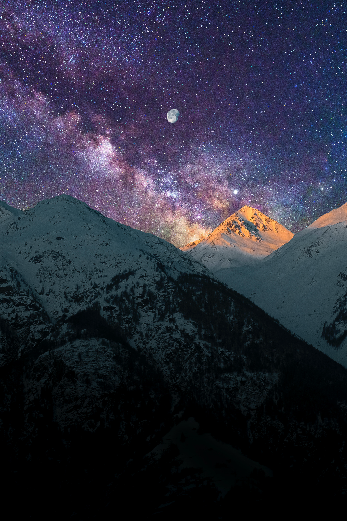
You should be left with something looking like this:

If you cannot seem to get the right effect with the “Keylight (1.2)” effect, try using the “Color Key” effect.
Inserting the New Sky
- Drag your new sky footage or image below your original footage layer.

- Adjust the scale and position to align it with the horizon and the general perspective of your scene.
If there are any harsh edges from the keying process:
- Select the original footage layer.
- Search for “Simple Choker” in the Effects & Presets panel.
- Apply it and slightly increase the “Choke Matte” value to soften the edges.
Matching Color and Lighting
One of the keys to a believable sky replacement is ensuring the new sky matches the color and lighting of the original scene.
- With your sky layer selected, search for “Curves” in the Effects & Presets panel.
- Adjust the RGB curves to match the overall brightness and contrast of your scene.
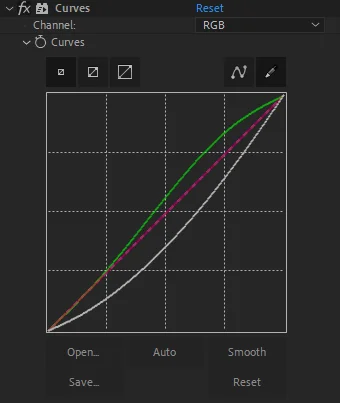
- If necessary, tweak individual Red, Green, and Blue channels to achieve a color match
Adding Final Touches
For a more realistic feel, consider adding:
Motion Blur: If there’s movement in your footage, adding motion blur to the sky can help integrate it more naturally.
Grading: Apply a final color grade to the entire composition. This ensures both the sky and the rest of the scene have a consistent look.
Movement Tracking: If you want to make sure your sky follows the movement of your original footage, you can use 3D Camera Tracking. This will be explained in a future article.
Sky replacement can transform the entire mood of a scene, from turning a mundane shot into a captivating one to altering the narrative tone of a clip. With After Effects, even beginners can tackle this technique with confidence. It might take some practice, but with patience and creativity, the sky’s truly the limit!
