

As you pile up videos, images, audio, and who knows what else, things can get messy fast. Don’t worry! Here’s the guide to keeping your After Effects project as organized as possible.
First Things First: The Project Panel
This is your control room. All the footage and other assets you import and play with lives here. Let’s make sure it doesn’t turn into that one junk drawer everyone has.
1. Folders
After Effects has amazing folder capabilities, so use them! We recommend a folder structure like this:
- 01 Imports
- 01 Footage
- 02 Assets
- 01 Images
- 02 Audio
- 01 SFX
- 02 Tracks
- 03 Pre-Comps
- 01 Scene’s
- Scene1 – Flyby
- etc.
- etc.
- 01 Scene’s
2. Proper naming of assets
“New Comp 1” is a no-go.
Name your files like they’re your pets – with love and clarity. Think “EpicSunsetTimelapse_v01” instead of “Untitled123.”
3. Coloring Layers
Coloring layers in After Effects isn’t just for notes. Use it to quickly spot your final comps or categorize footage types.
These are the available colors in After Effects:
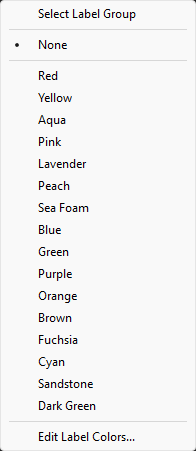
You can also change these colors in the settings by pressing “Edit Label Colors…“.
We recommend you to take a look at Creative Dojo’s guide to better label colors.
4. Pre-composing
Got a messy comp? Precompose! It’s like making a sub-folder for your layers. Just remember, name these mini-comps something you’ll remember. Also, after making it, make sure to drag it to the right Pre-Comp folder we talked about ealier.
5. Remove Unused Footage
Unused footage quickly piles up when you import a bunch of assets that you think you might use, SFX for example can quickly add up.
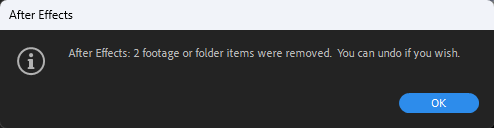
A quick way to remove any unused footage is by using the, you guessed it, “Remove Unused Footage” button in After Effects. You can find this button under File > Dependencies > Remove Unused Footage.
After clicking, a popup will show up with how many files were removed from your project.
Remember, a little organization goes a long way in After Effects. It helps you to save time in the long run because you’ll be able to navigate a lot quicker.
